チュートリアル
Editor上でのモデリング機能を紹介します。
Teddyの起動
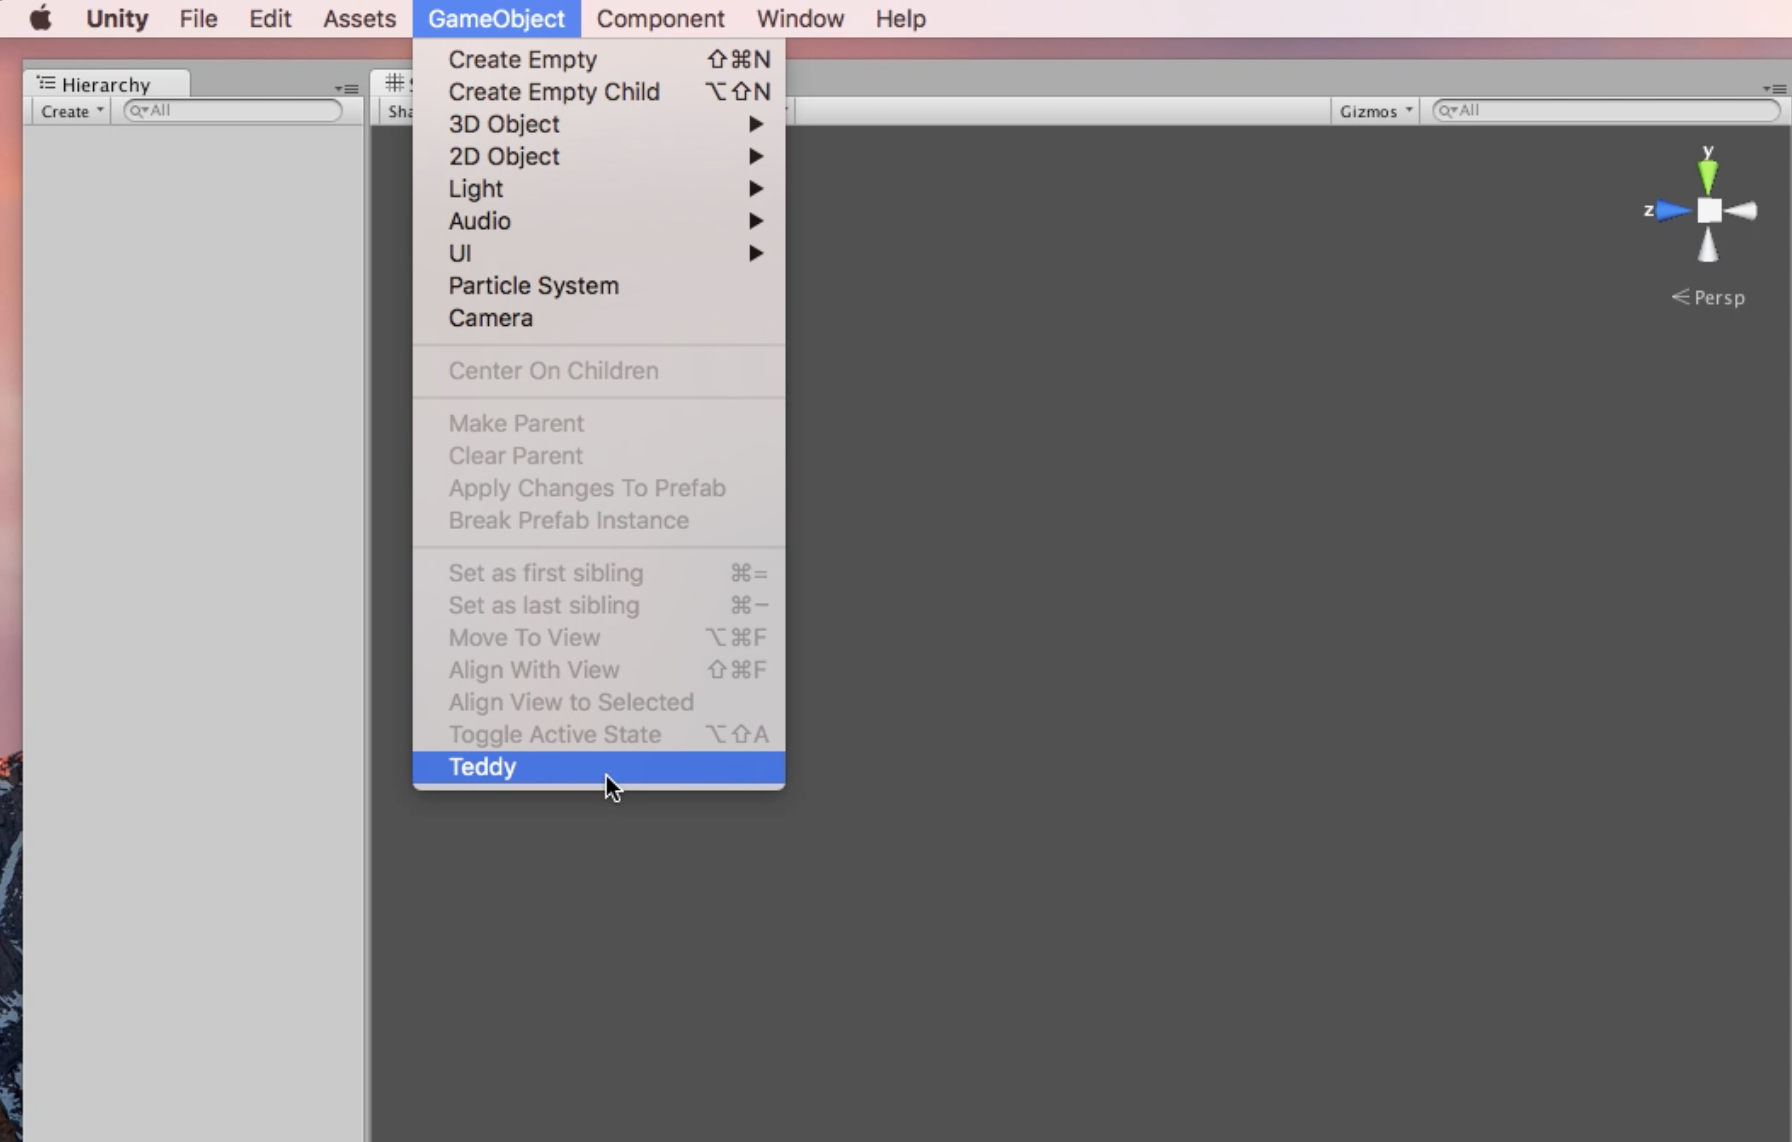
GameObjectメニューからTeddyを選択すると、Teddy ComponentがついたGameObjectがScene上に生成されます。
メッシュの作り方
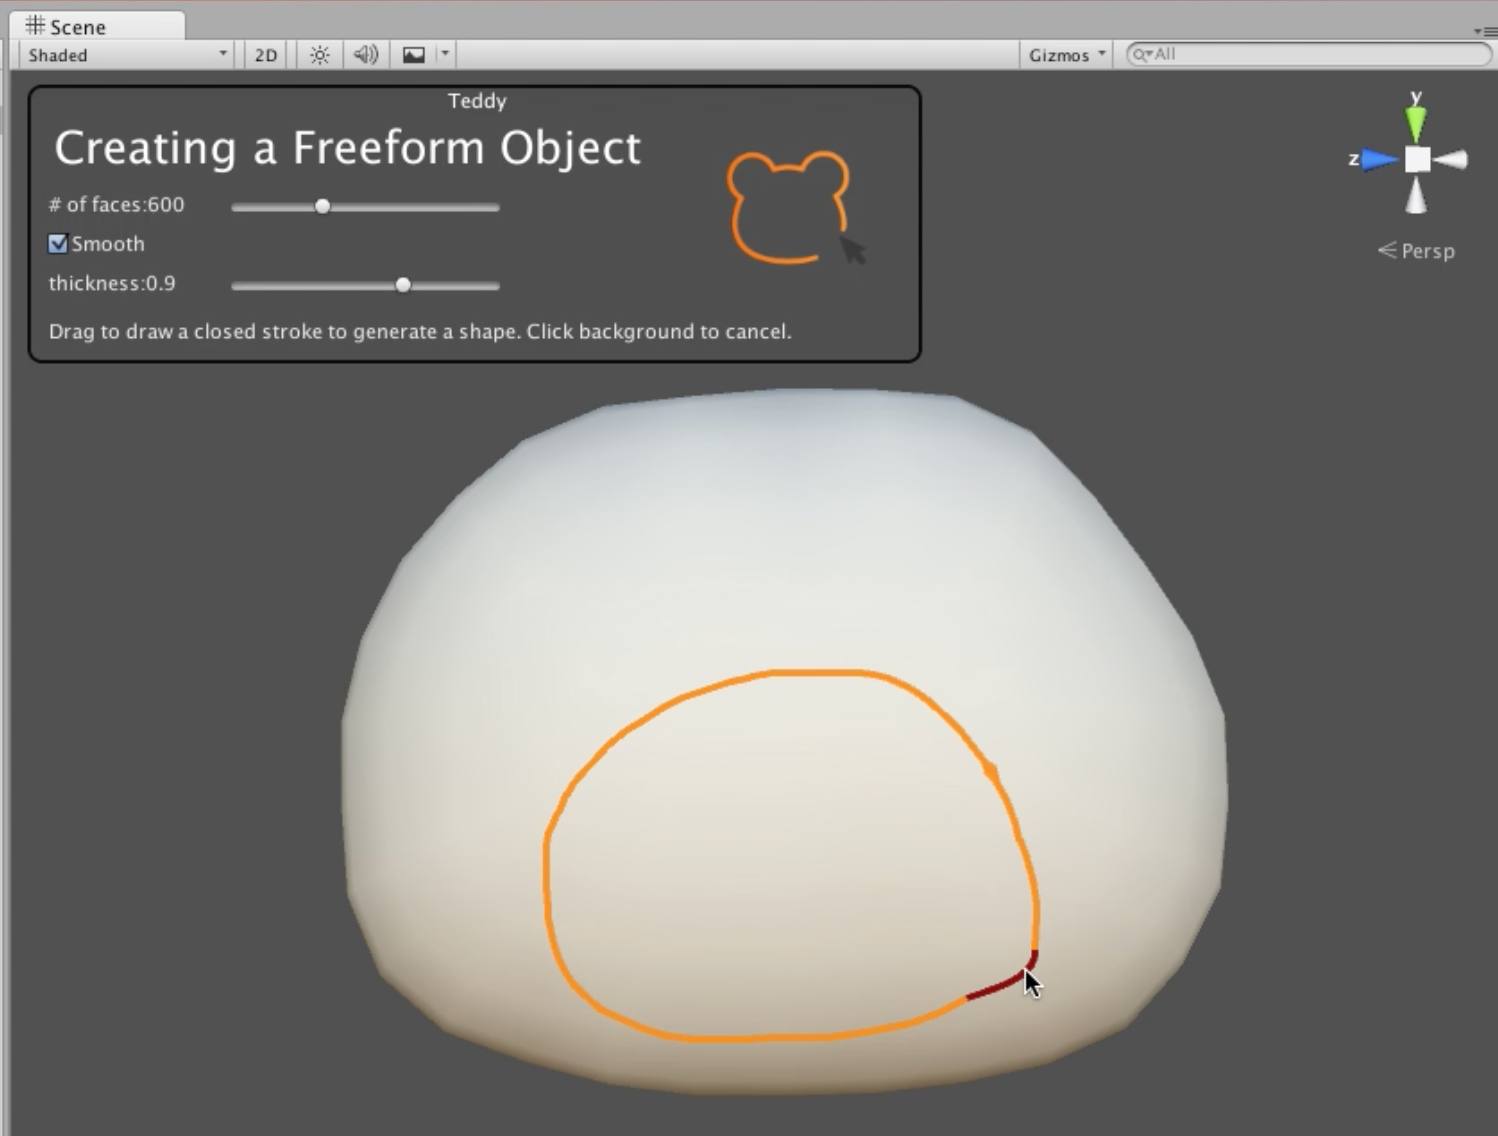
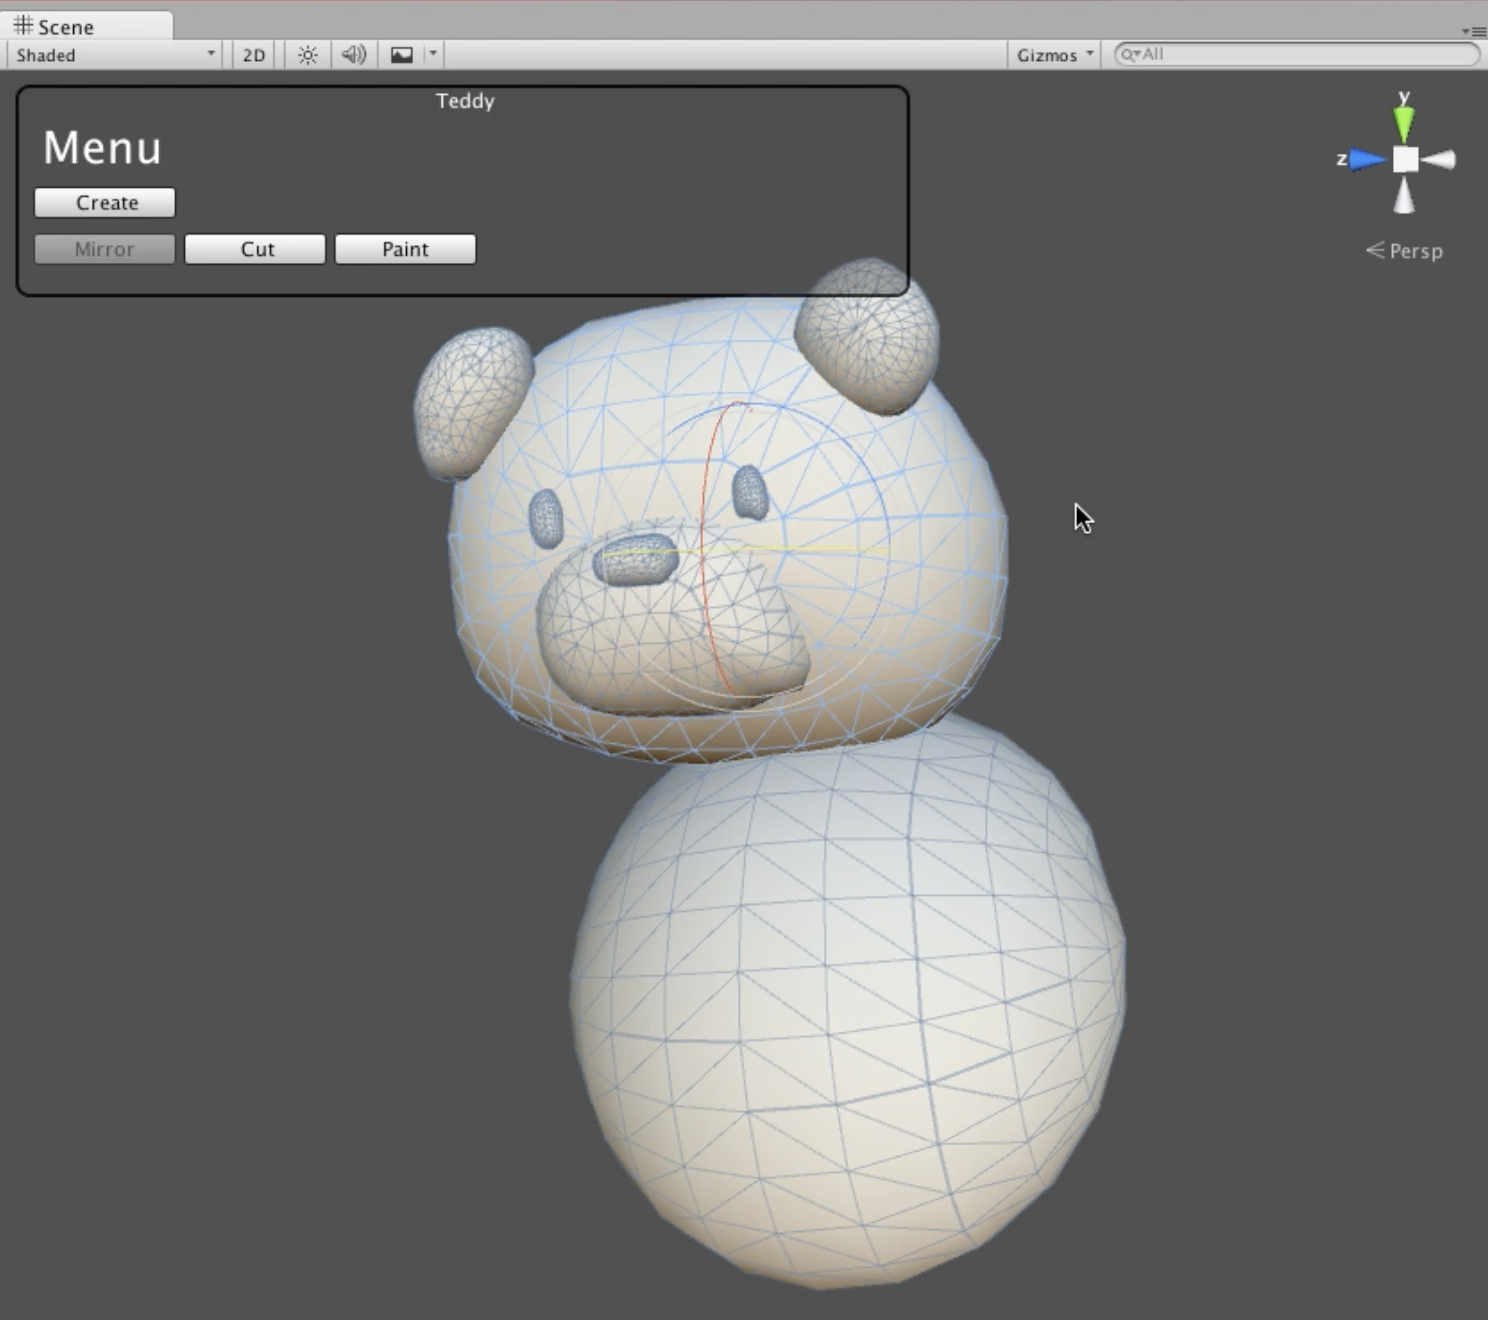
Teddyを起動するとSceneViewにUIが表示されます。その状態でドラッグするとストロークが描かれます。
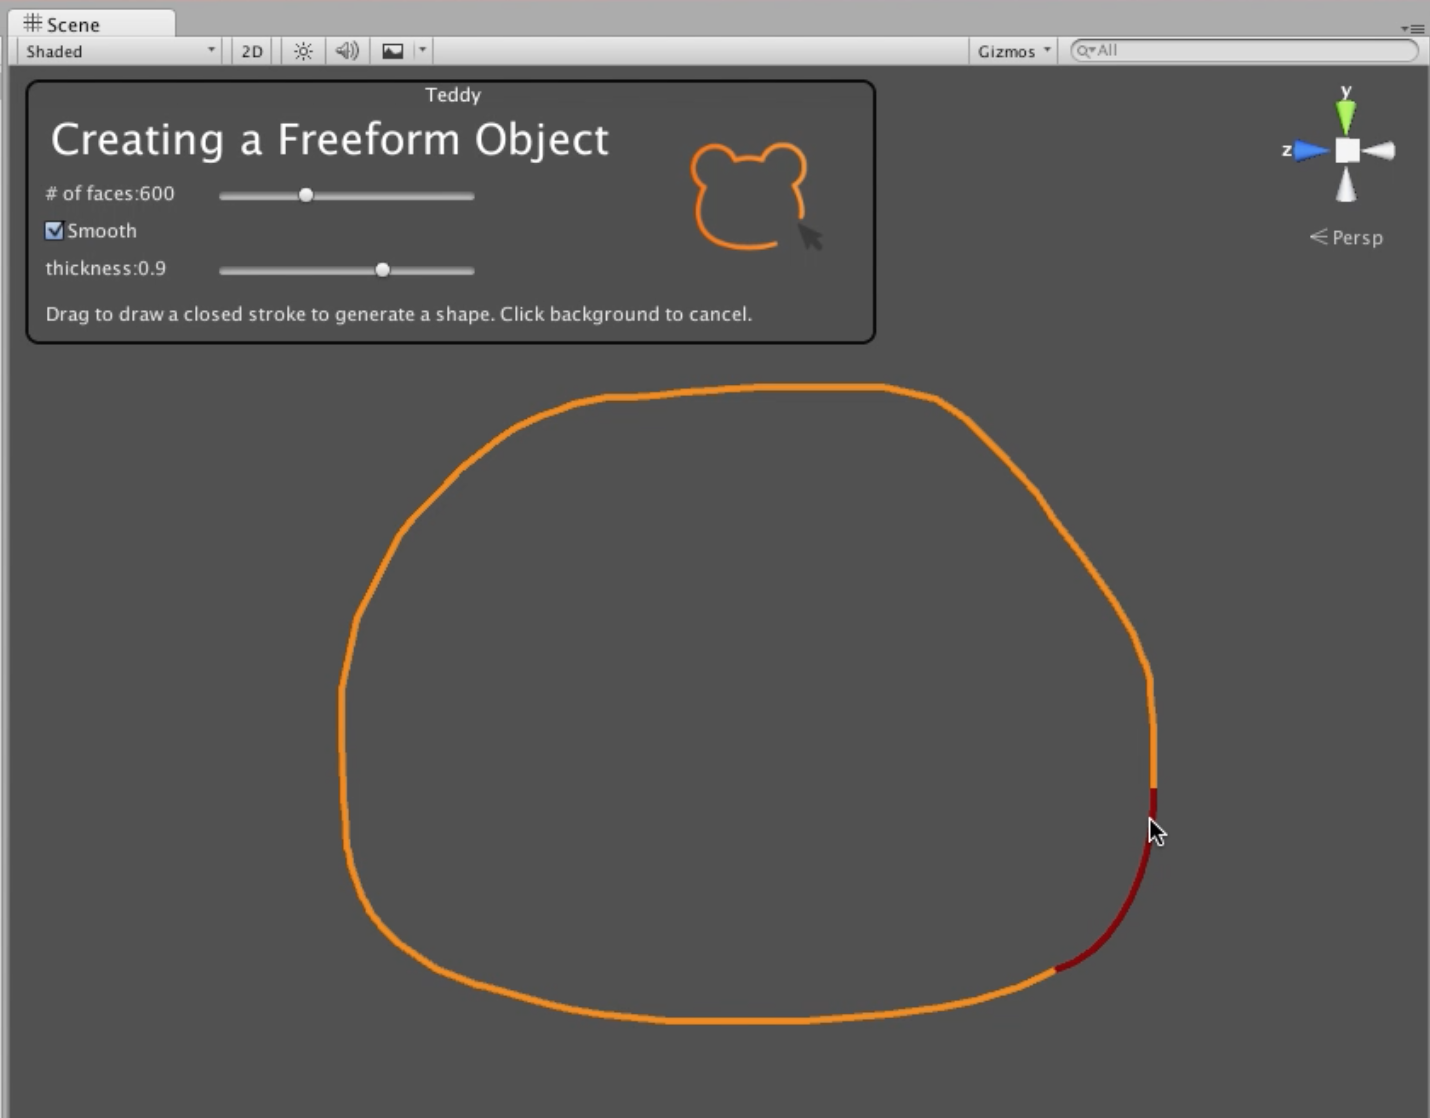
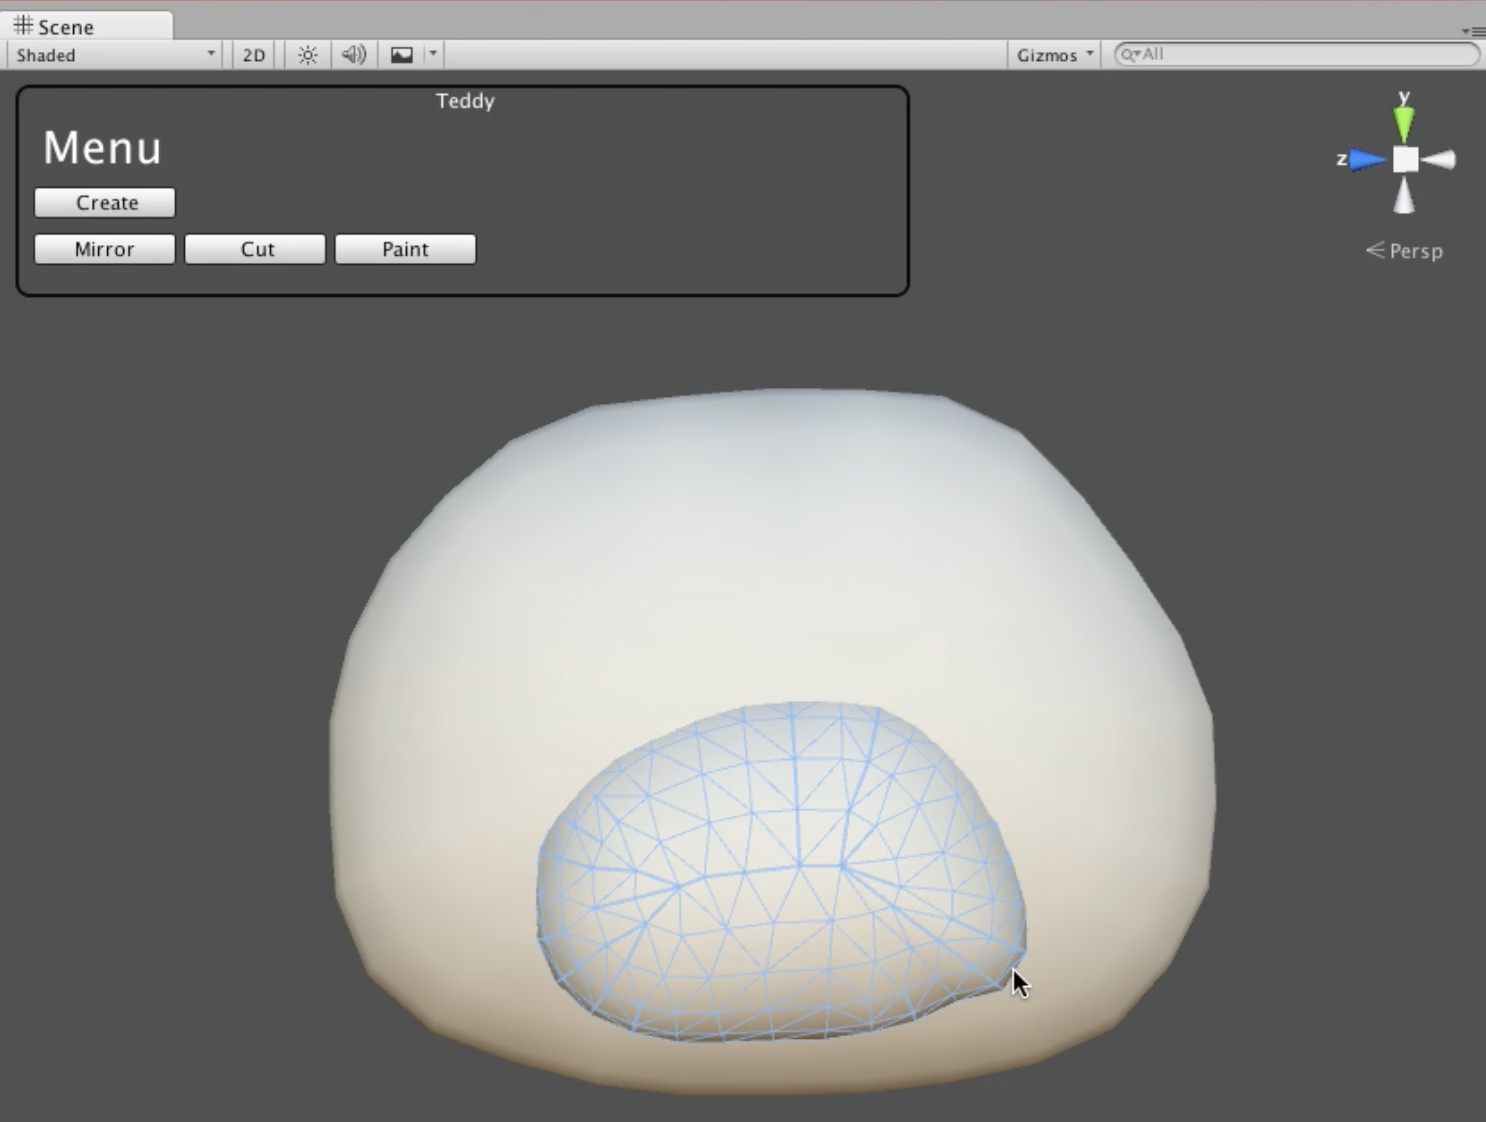
ドラッグを終了させると、そのストロークをアウトラインとしたメッシュが生成されます。
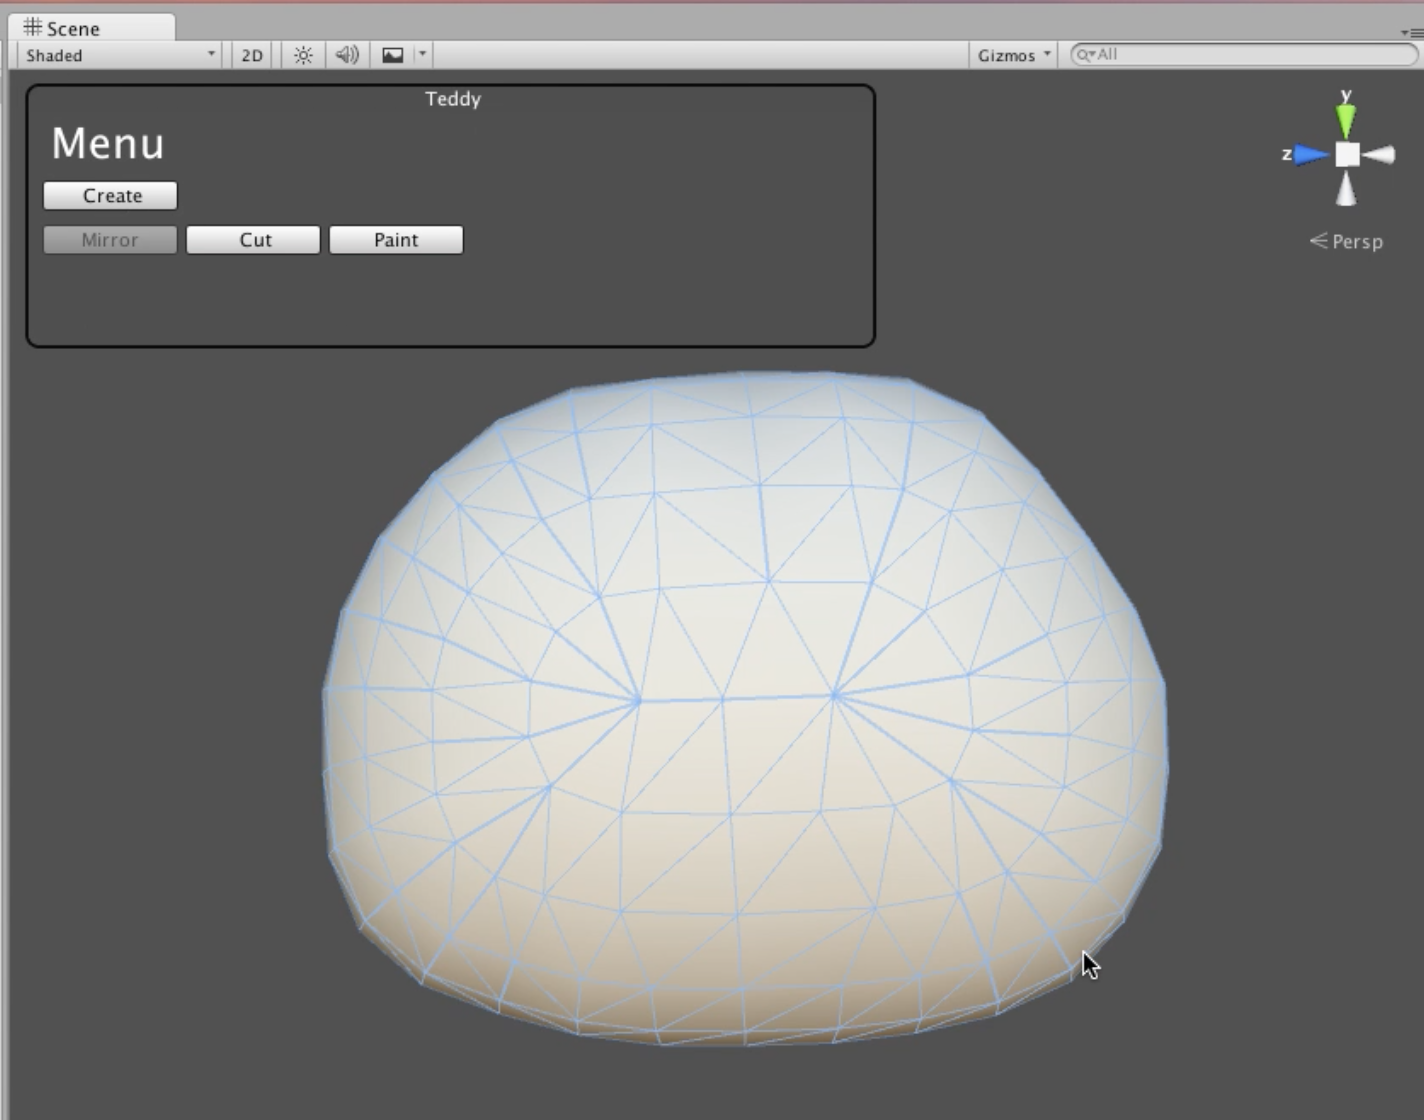
このメッシュの面の細かさ、法線の滑らかさ、膨らみ具合はSceneView上のUIで制御できます。
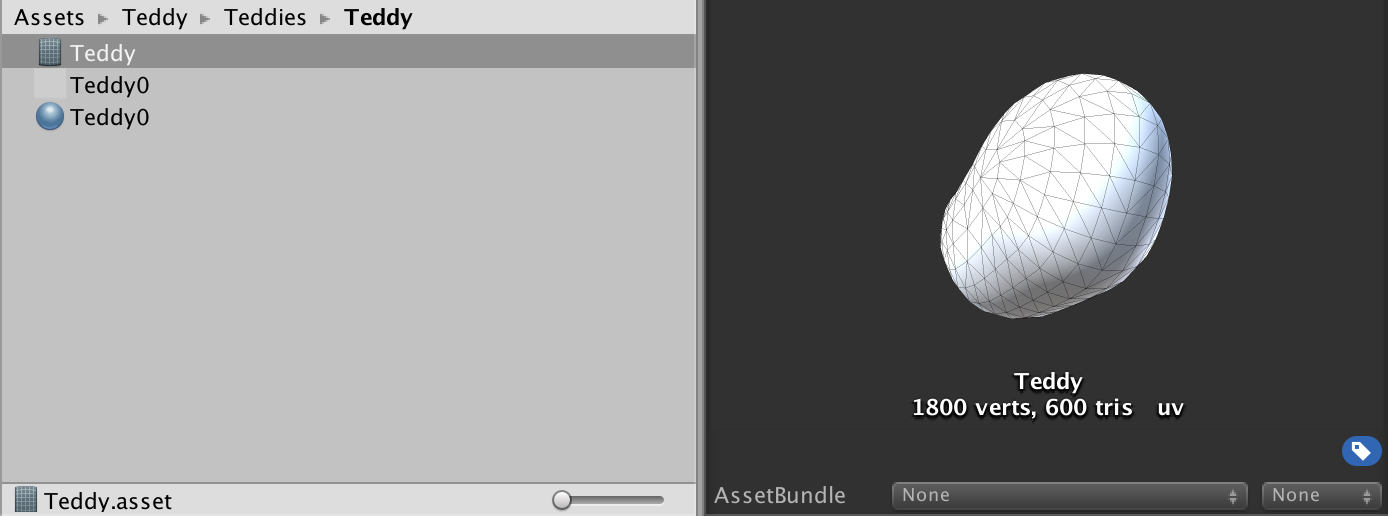
生成されたメッシュはマテリアルとテクスチャとともにAssets/Teddy/Teddiesフォルダ以下に自動的に保存されます。
階層構造の作り方
既にScene上にあるTeddyオブジェクトに重なるようにストロークを描くと、生成されるTeddyオブジェクトは階層化されます。
外側に位置するオブジェクトの作り方
Teddyオブジェクトの内側からストロークを描くと、生成されるメッシュはオブジェクトの外側に配置され、階層化されます。
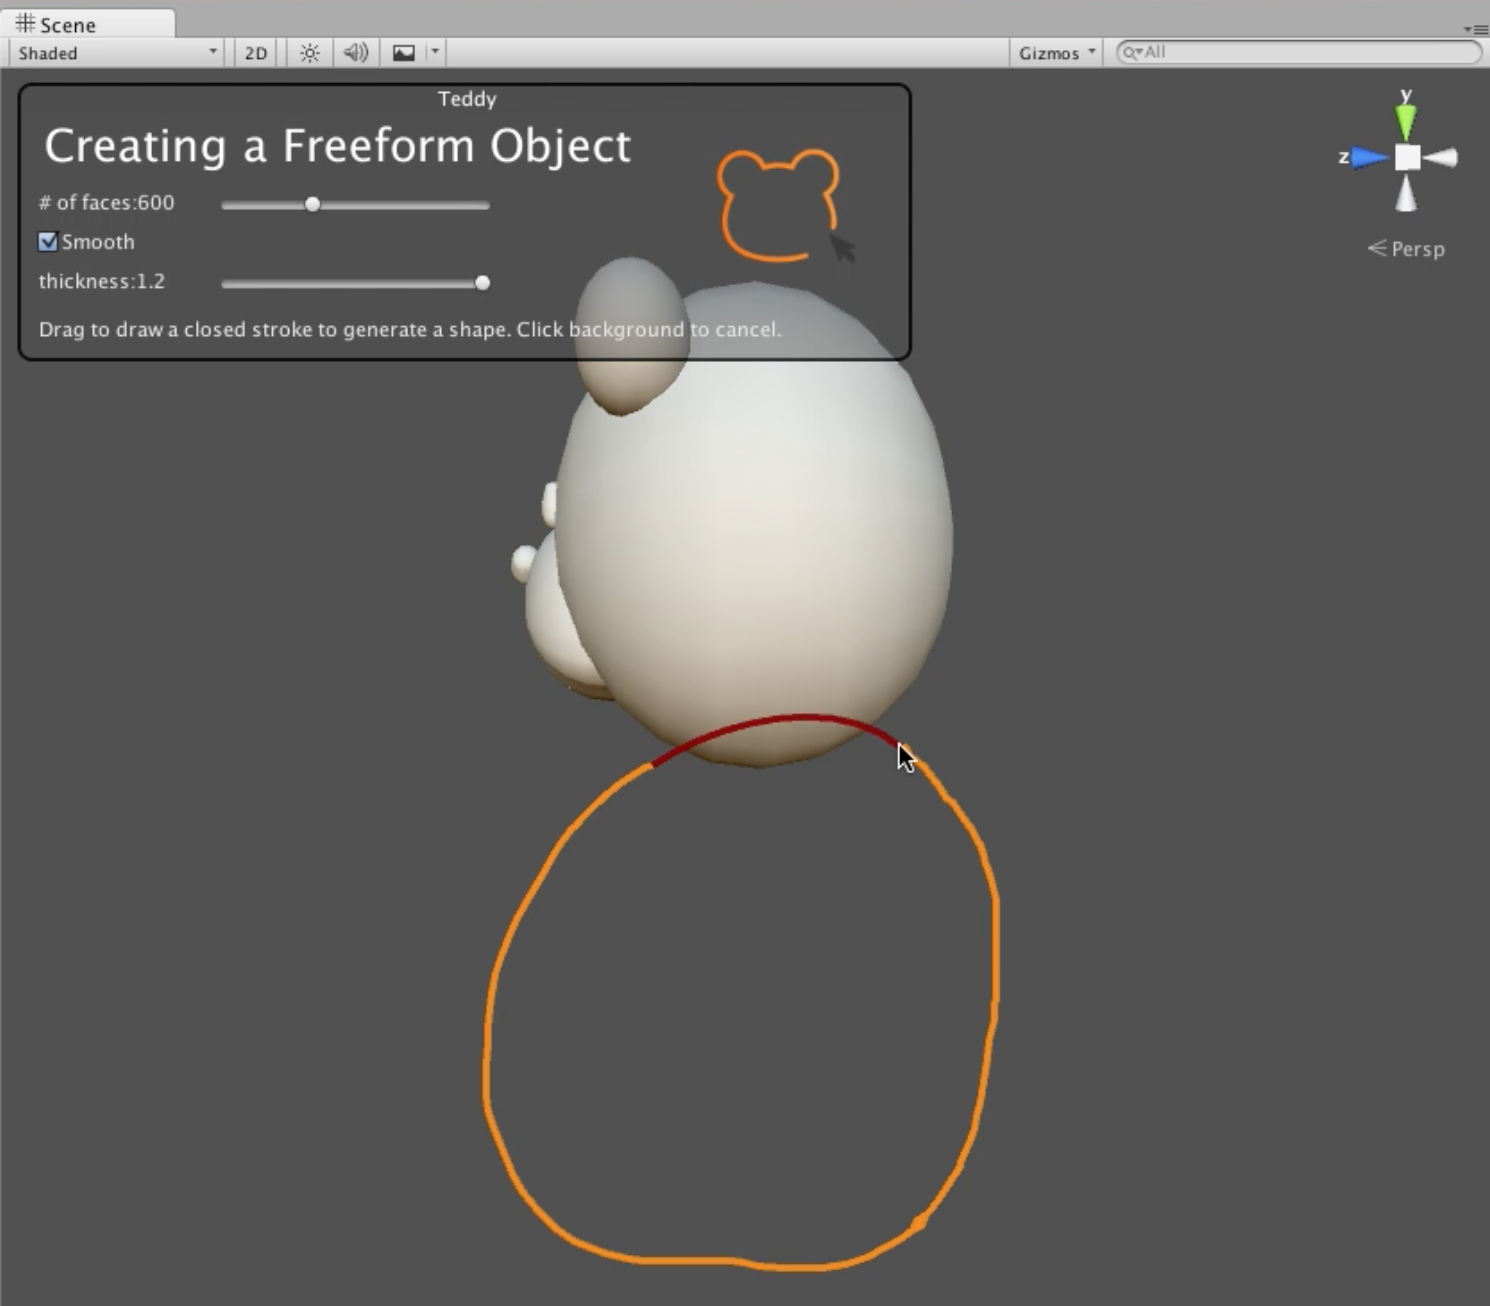
中心に位置するオブジェクトの作り方
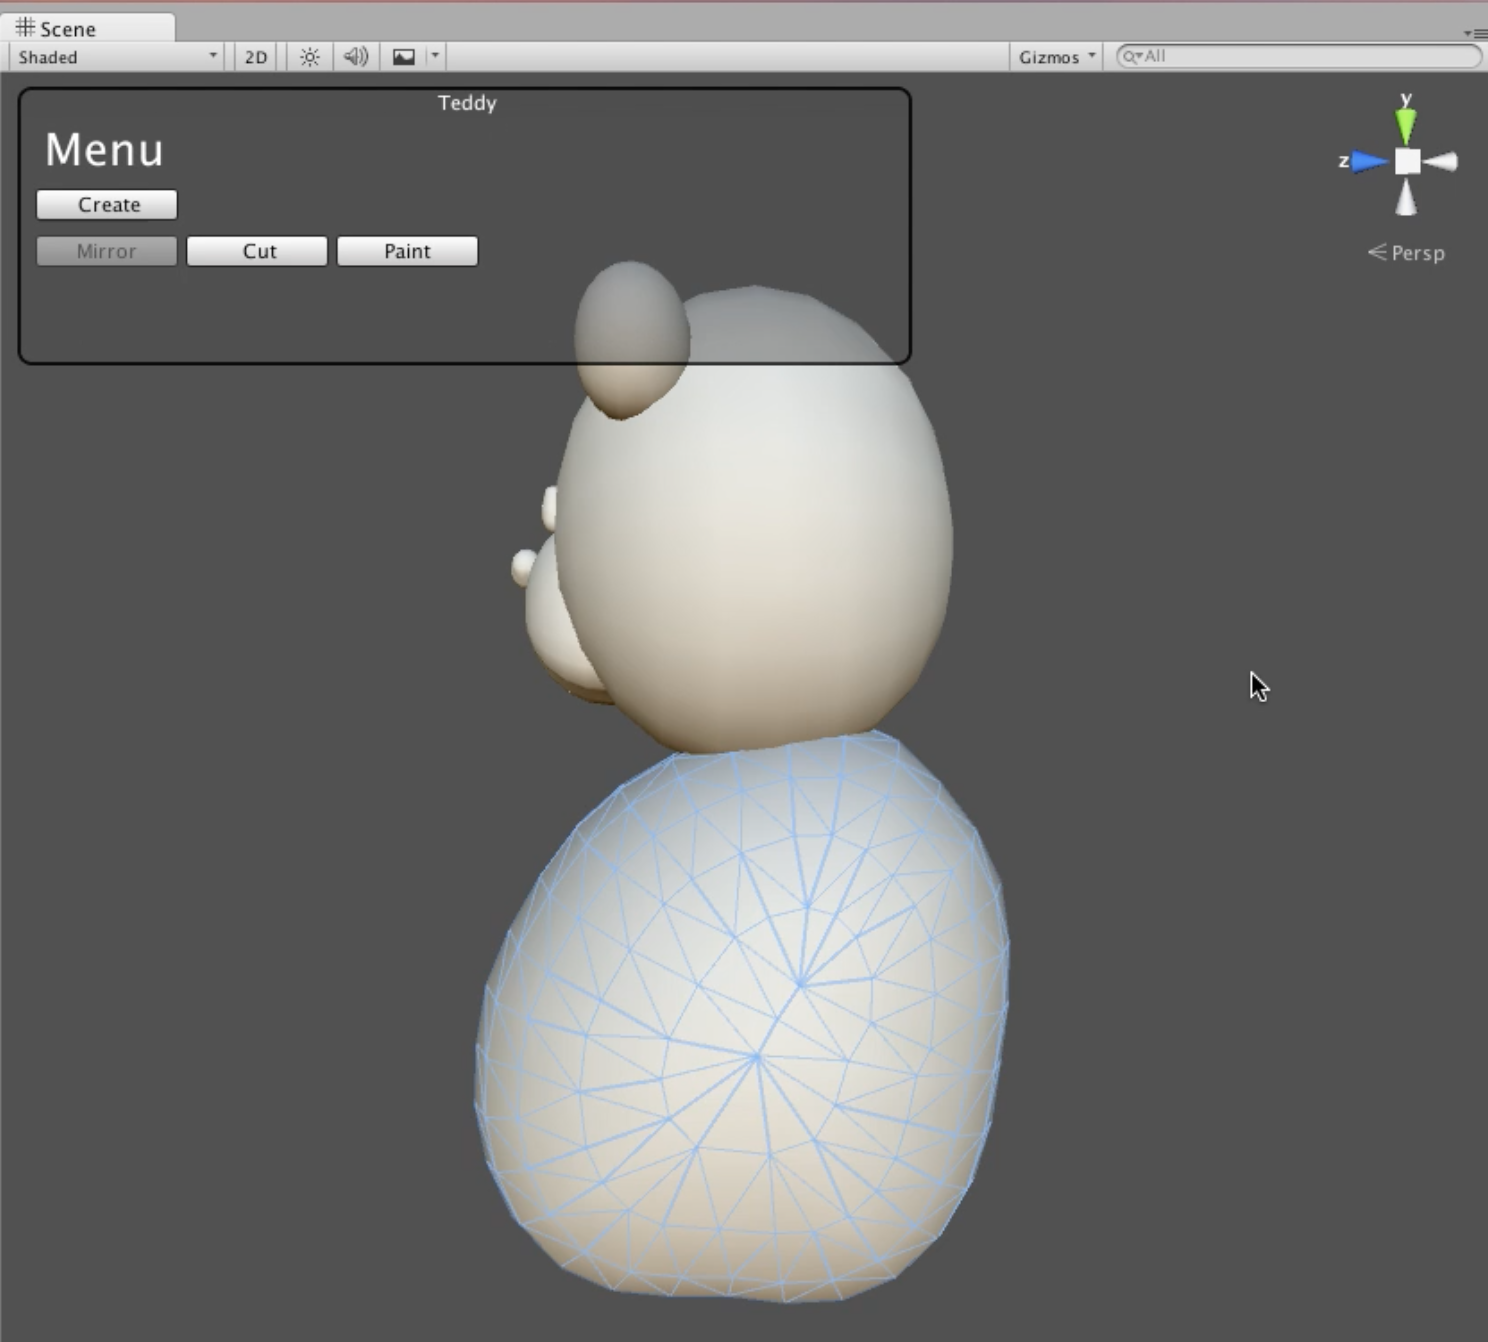
Teddyオブジェクトの外側からストロークを描くと、生成されるメッシュはストロークが重なったオブジェクトの中心に配置され、階層化されます。
ミラー機能
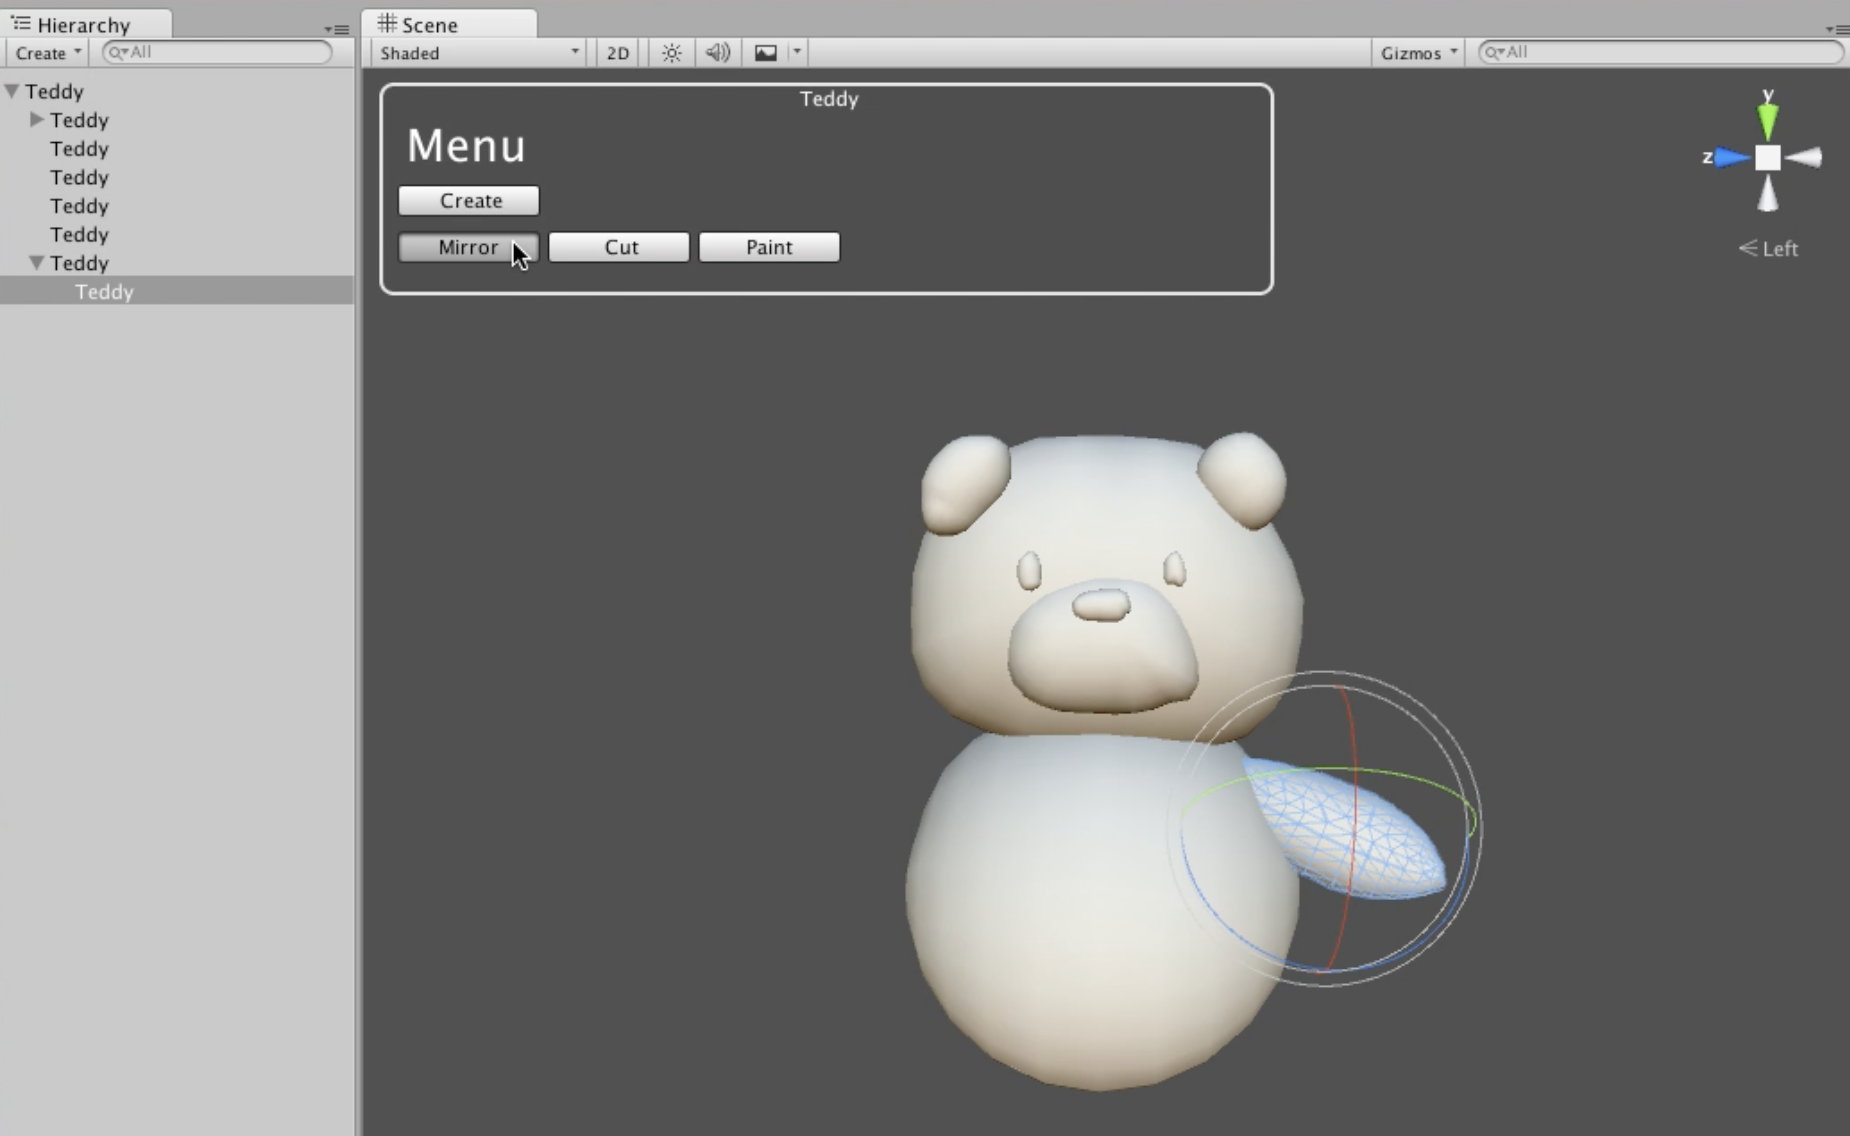
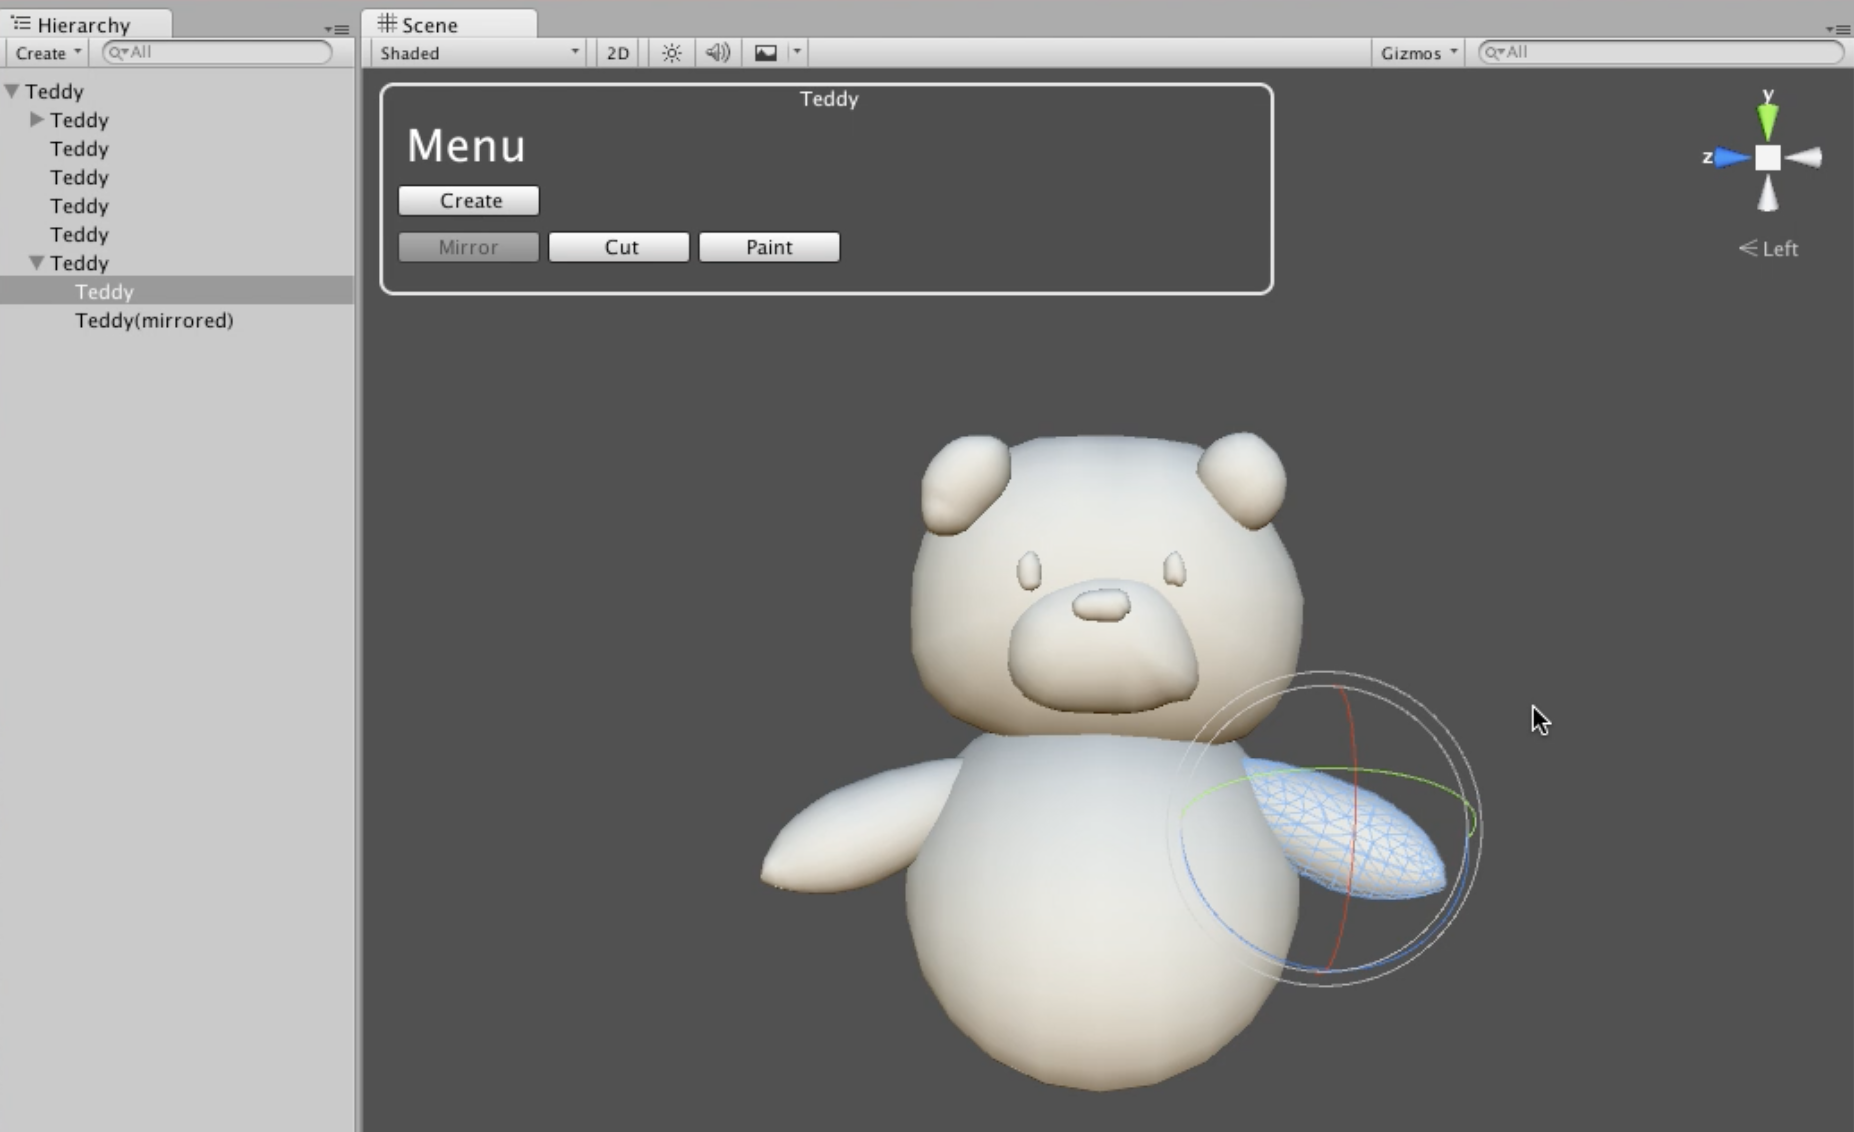
階層になっているオブジェクトの子オブジェクトを選択すると、Mirror機能が利用できます。
子オブジェクトを選択した状態でMirrorを選択すると、親オブジェクトのz方向を中心として、反対側に子オブジェクトを複製します。
メッシュの切断機能
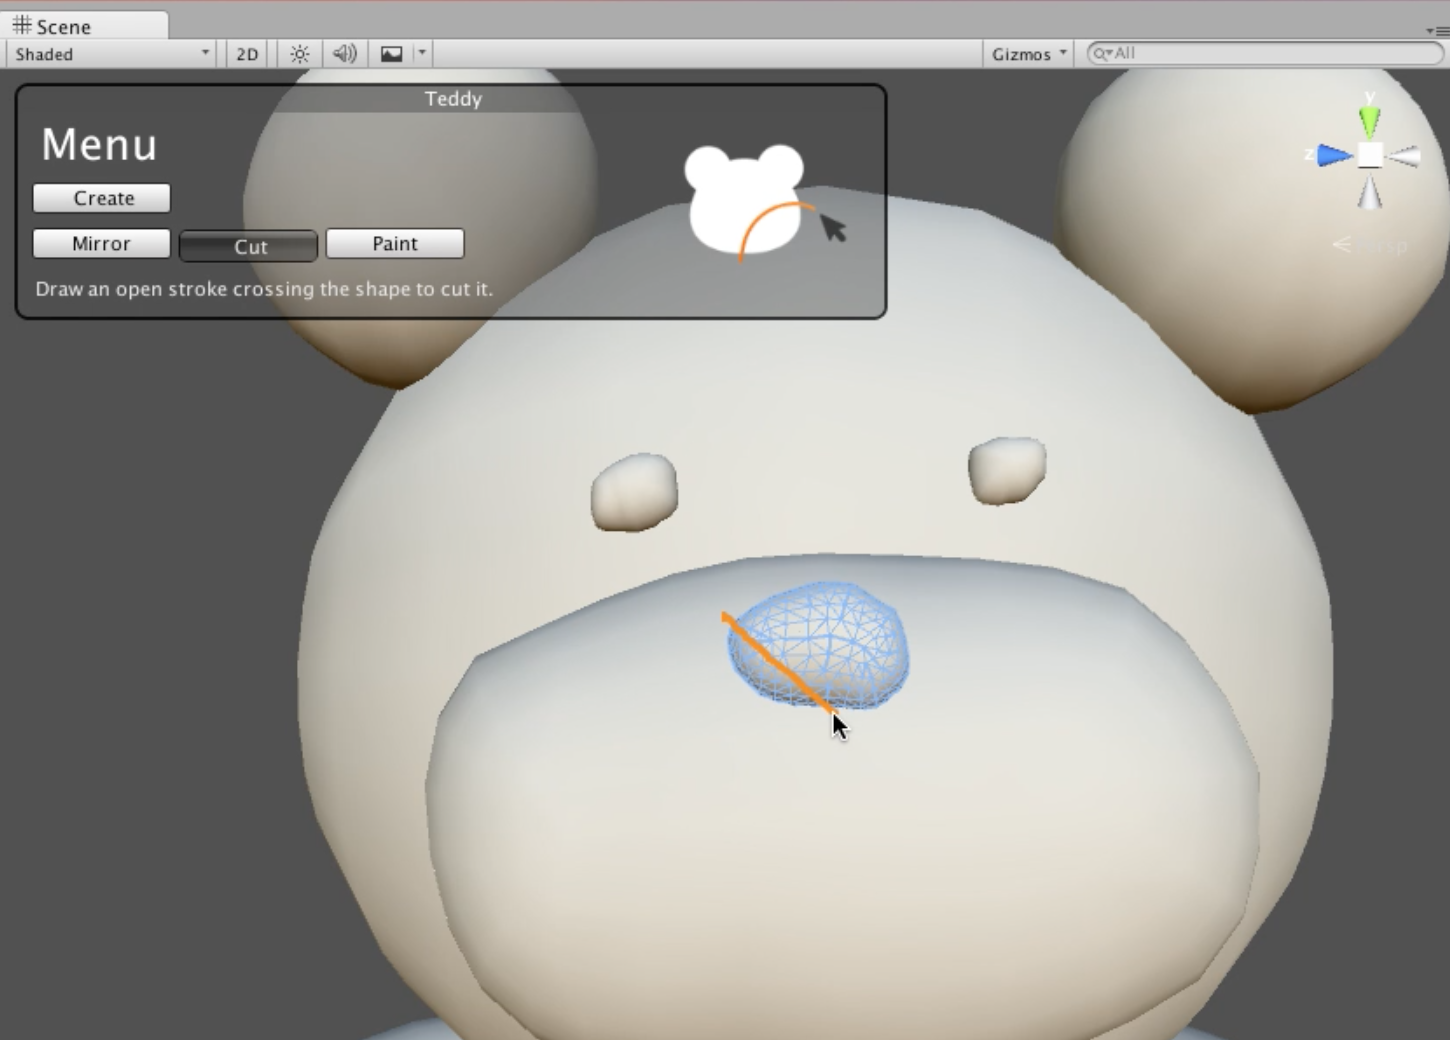
Teddyオブジェクトを選択した状態でCutを選択すると、メッシュの切断機能が利用できます。
ドラッグでストロークを描くことができ、メッシュを横切るようにストロークを描くと、ストロークに合わせてメッシュを切断することができます。
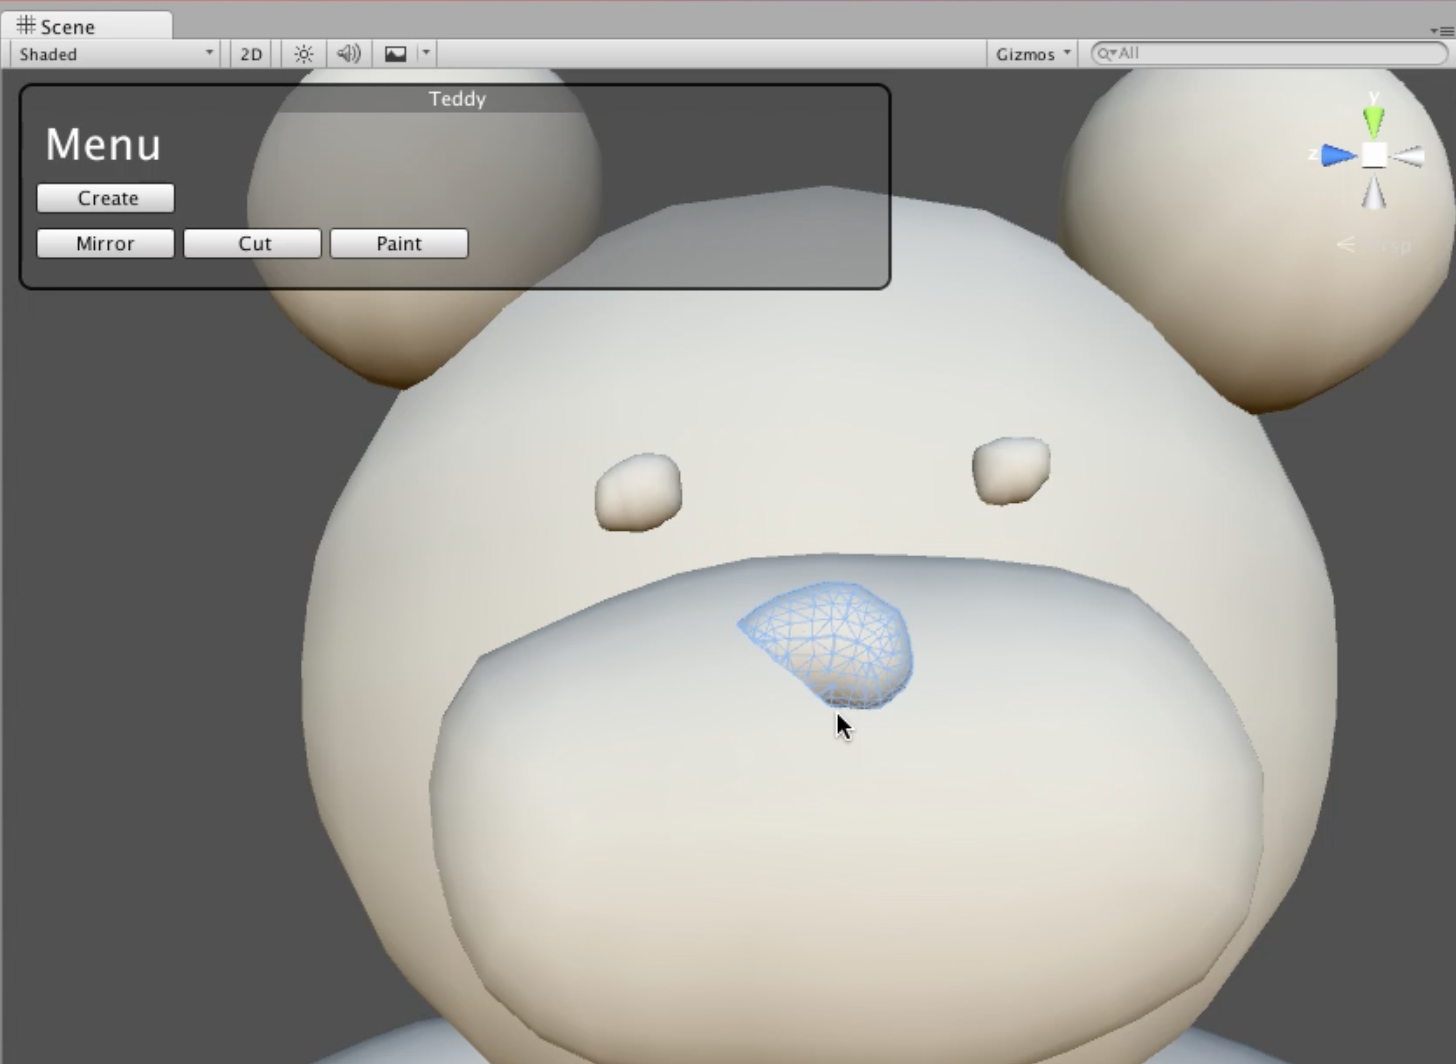
テクスチャのペイント機能
Teddyオブジェクトを選択した状態でPaintを選択すると、テクスチャのペイント機能を利用することができます。
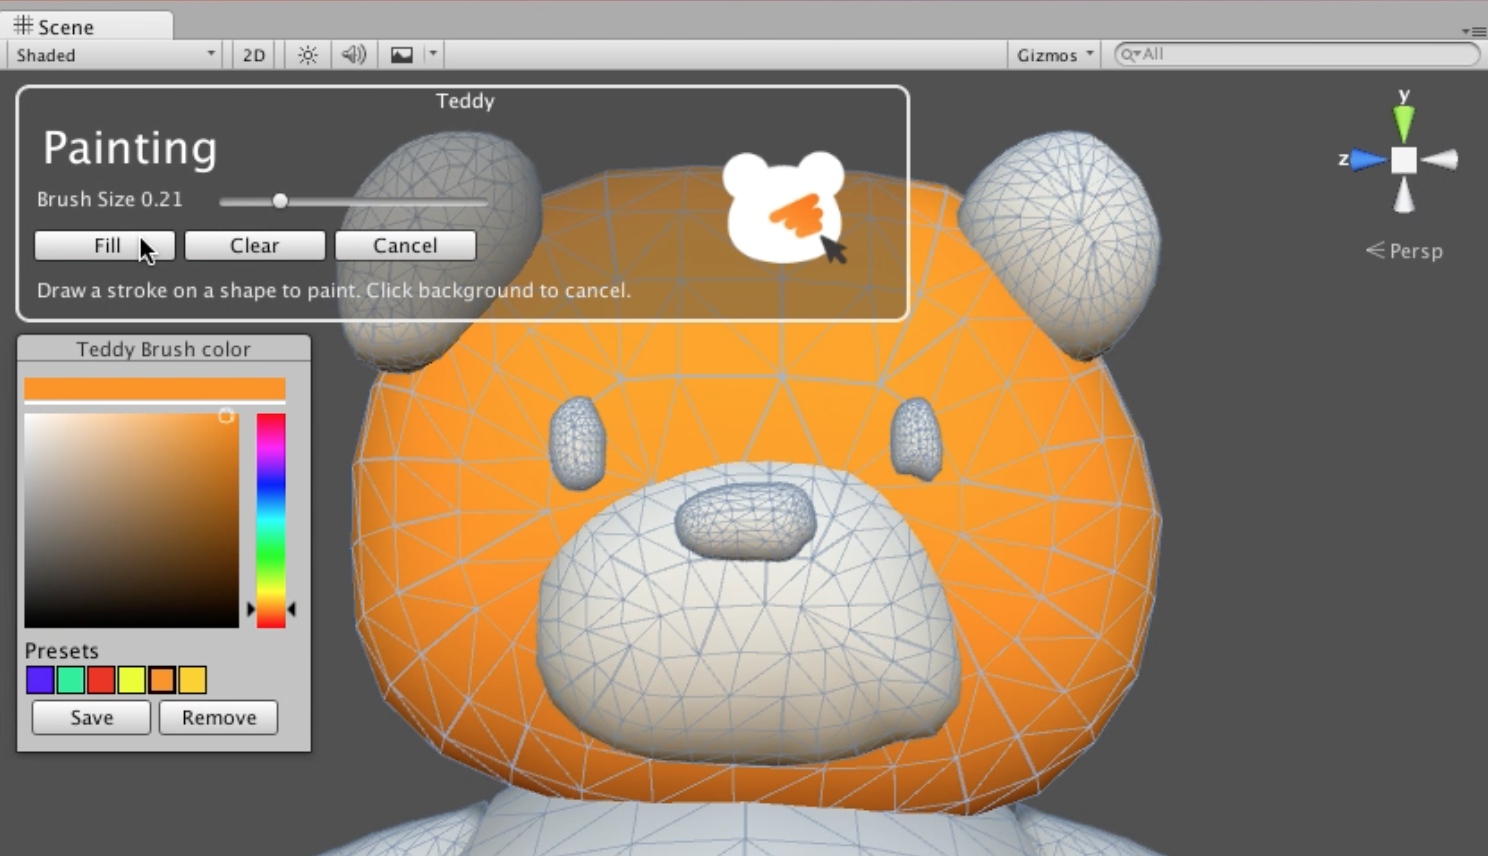
Fillを選択すると、選択中の色で塗りつぶすことができます。
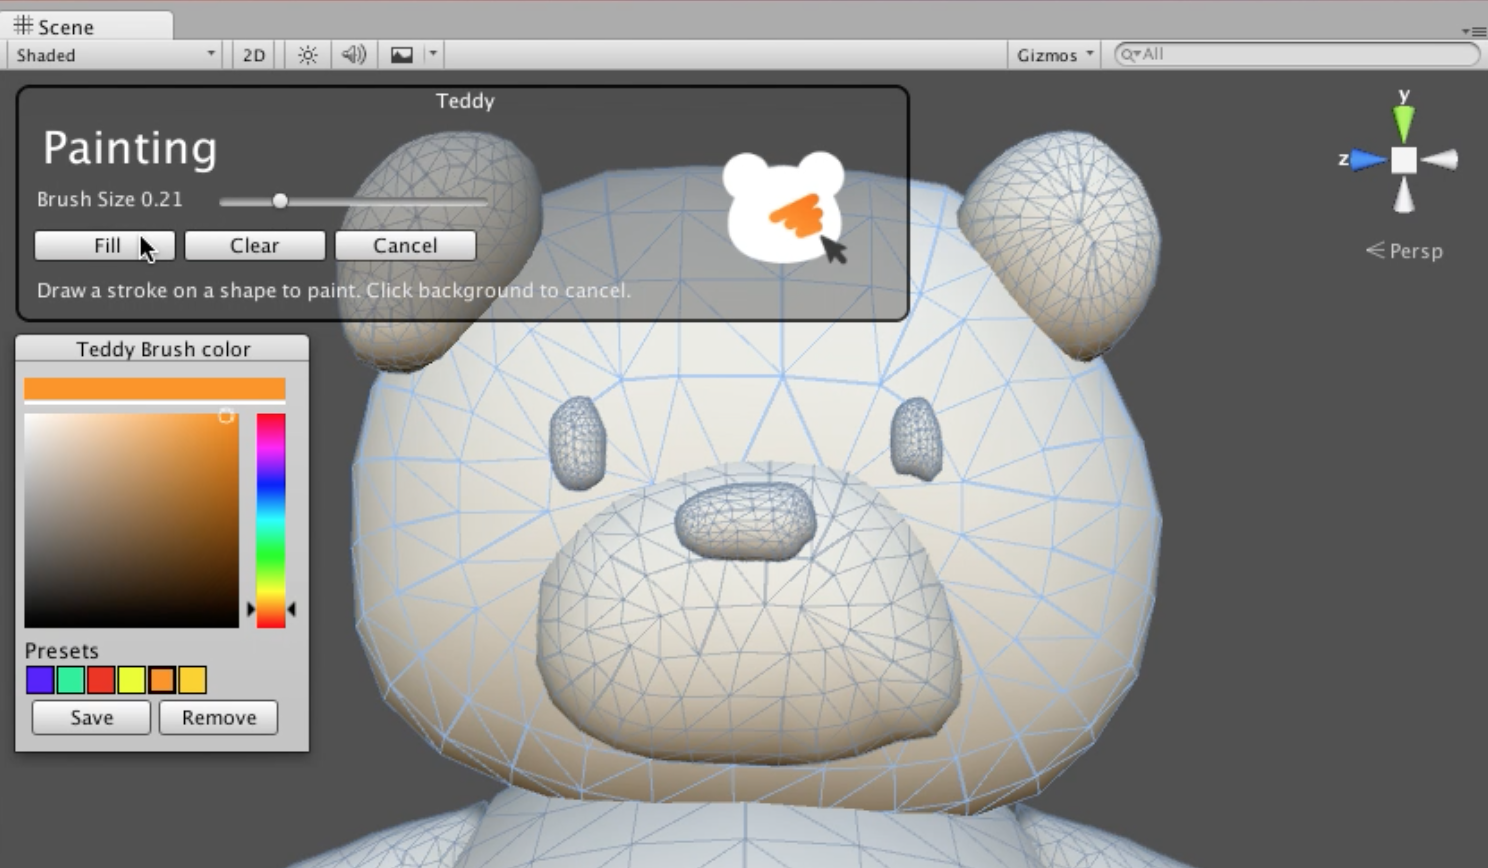
塗りつぶし以外にもブラシを使って色を塗ることもできます。
